-
Highlight
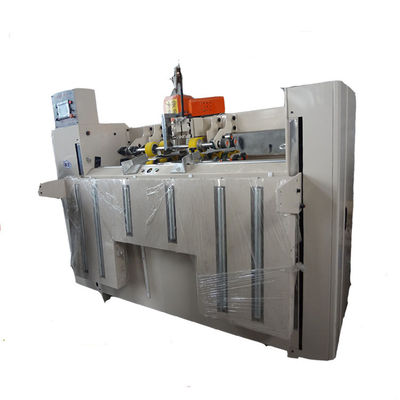
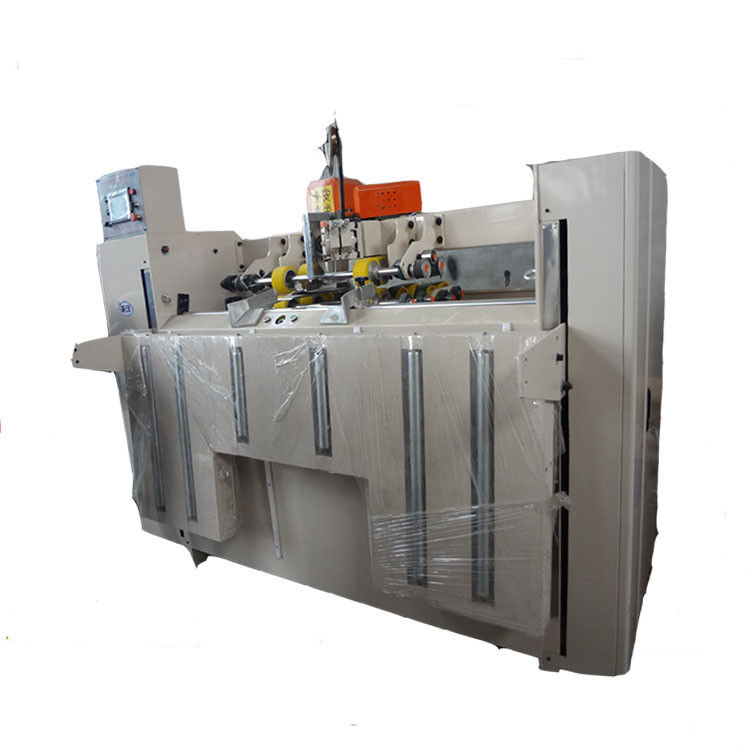
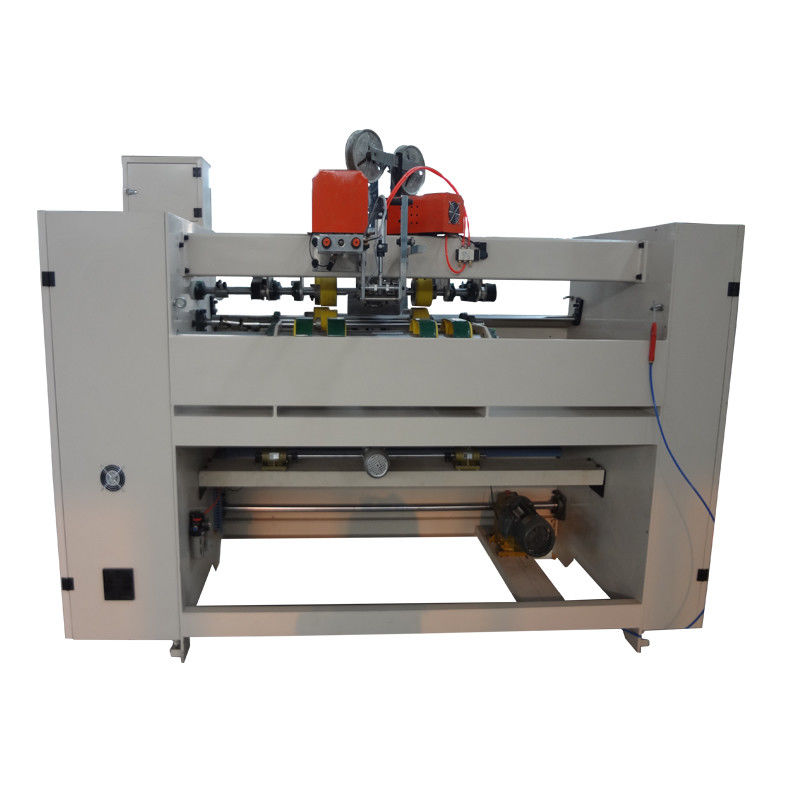
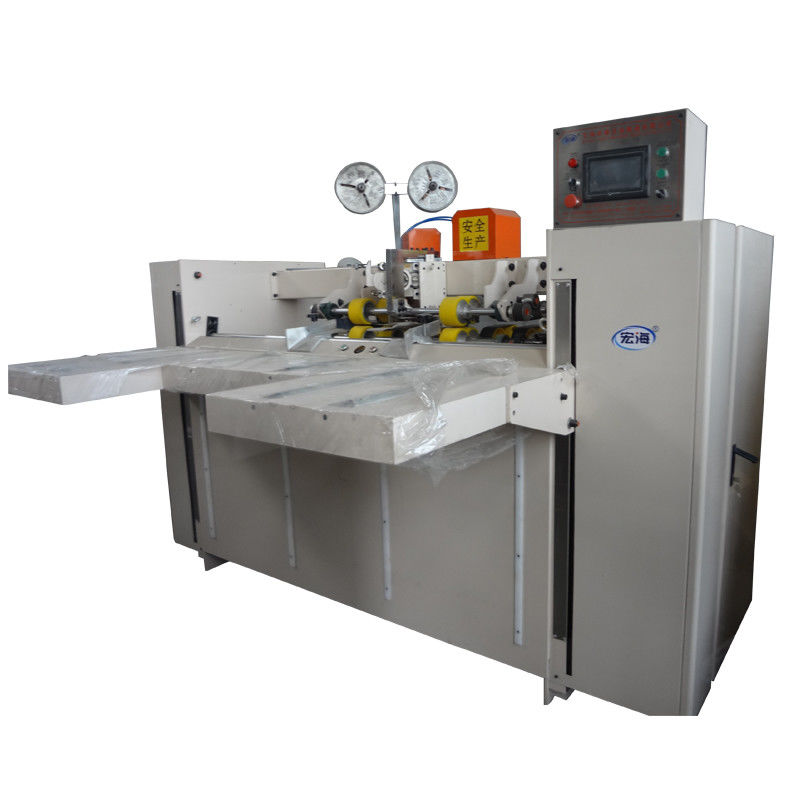
plc corrugated box stitching machine
,2850mm corrugated box stitching machine
,plc carton stitching machine
-
NameCarton Making Machine , Cardboard Box Making Machine
-
Machine Width2850mm
-
Speed500 Min
-
FeaturePrecision Accurate
-
Power7.5 KW
-
Number Od Stitching2-99
-
Place of OriginChina Hebei
-
Brand NameKingsun
-
CertificationCE
-
Model NumberBDJ
-
Minimum Order Quantity1 Set
-
PriceNegotiable
-
Packaging DetailsWrapped in plastic film and placed in wooden box
-
Delivery Time5-8 work days
-
Payment TermsL/C, T/T, Western Union
-
Supply Ability5 Set 30 per days
2850mm Semi Auto Plc Corrugated Box Stitching Machine
Semi Auto Stitcher Carton Making Machine , Cardboard Box Making Machine
5. The actual process of the nail box: The feeding of the cardboard is carried out by the servo motor, and the nail motor drives the nail head to complete the nail box. The drive shaft driven by the nail head motor and equipped with the clutch and the brake drives the crank mechanism to realize the nail box action under the action of the clutch. When the first nail action is completed, the cardboard back panel picks up the cardboard, and the crank mechanism moves in a stepwise manner. Drive the paper feed roller to rotate, stop after reaching the predetermined nail distance, and immediately perform the second nailing. Troubleshooting
6. The nail head does not nail. The nail head motor does not run. Check if the solenoid valve trips. The nail head clutch has no action. Inside the nail head, remove the nail head side cover and take out the punch to clean, refill after adding lubricating oil. The auto start switch does not start. The single-chip, two-piece selector switch is placed in a single piece, and the nail cannot be automatically stapled when the paper is fed. The upper nail head baffle photoelectric sensor switch does not operate, and adjusts the photoelectric switch sensing distance. The axis of the lower rail is not sensed, causing the paper to be pinned without being fed.
7. Continuous nailing of the nail head The solid state relay is damaged and the DC solid state relay is replaced. Proximity sensor switch failure.
8. Incorrect positioning of the nail head Check the F3 fuse 34-35 (AC). F9 fuse 50-51 (DC). The brake coil resistance wire is 15Ω.
9. The left and right paperboard tooth type paper feeding belt does not run. The screen displays the servo abnormality. Turn off the total power supply in the electrical box for 3 minutes and turn it back on. Check if the toothed belt drive pin slot shaft can be rotated. After troubleshooting, press the screen to indicate the reset button to resume operation. When the servo motor is overcurrent, press the white plastic handle under the 10Hp electromagnetic switch of the control box to recover.
10. Left and right paperboard paper feeding belts continue to run after nailing. The right sideboard counts the photoelectric induction intensity too strong. Adjust the one-side knob on the side of the electric eye, the clockwise strength increases, and the counterclockwise direction weakens.
Machine specification
| Max size (A+B)X2 | 3600mm | min length A | 250 mm |
| Min size A+B)X2 | 740mm | Max height D | 2000 mm |
| Max size (C+D+C) | 3000mm | Min height D | 150 mm |
| Min size (C+D+C) | 250mm | Max flay size E | 40 mm |
| Min cover size C | 50mm | Max paper heigh | 900 mm |
| Max cover size C | 560 mm | Machine width | 2850 mm |
| Max width size B | 760 mm | Machine weight(T) | 2tons |
| Min width size B | 120 mm | Machine speed (nail/min) | 500 |
| Max length A | 1120 mm | Nail no. | 1-99 |
![]()


